
Pruning
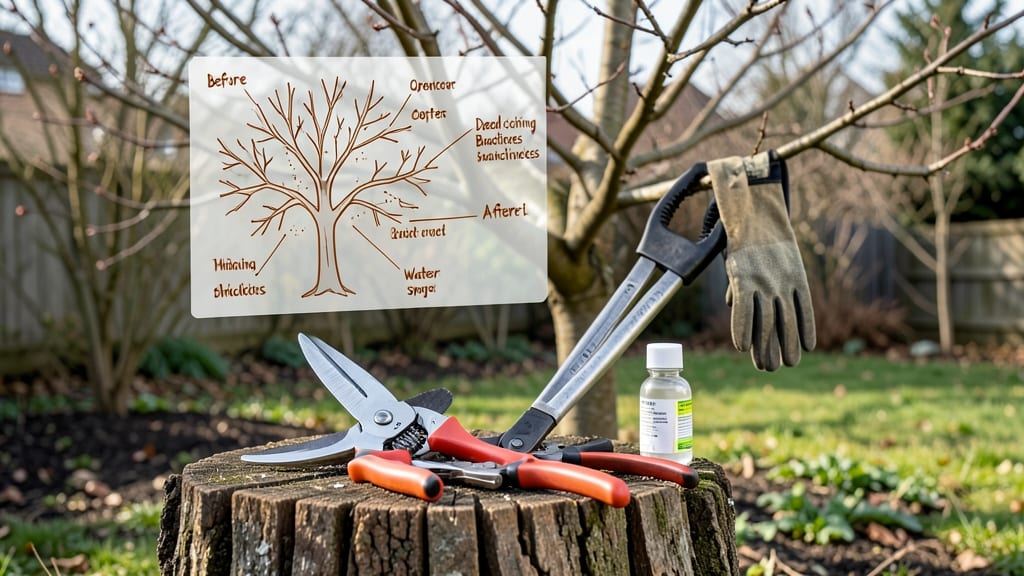
Winter is the perfect time to learn how to prune an apple tree with a diagram in mind—the bare branches make it easier to visualize cuts for next year’s harvest. ✂️ I’ve pruned my orchard trees for years, and winter’s dormant season means less stress on the tree, cleaner cuts, and fewer pests to worry about.
The key is working when temps stay above freezing but before buds swell—usually between late winter and early spring, depending on your zone.
You’ll need sharp pruners, loppers for thicker branches, and a saw for the biggest limbs, plus a bucket for clippings and a marker to label cuts.
The goal is to open the center for sunlight and air, remove dead or crossing branches, and shape the tree into an open vase or central leader form—whichever works best for your variety.
Think of it like sculpting: every cut should have a purpose, whether it’s improving fruit access or preventing future storm damage.
By the time spring arrives, your tree will be standing taller with stronger branches, ready to burst into leafy growth. You’ll see fewer broken limbs in windstorms, easier access to pick fruit, and a framework that encourages bigger, healthier apples.
The best part? A well-pruned tree rewards you with better yields for years to come—just imagine that first bite of crisp, sun-ripened fruit next summer.
One thing to remember: winter pruning timelines vary by region—warmer climates can start earlier, while colder zones should wait until late winter. And always disinfect your tools between cuts to prevent disease spread. With these steps, you’ll be shaping your tree like a pro in no time.
📚 In This Guide
- What you need
- Instructions
- Tips and common mistakes
- Wrapping up and next steps
What you need
- ● Pruning saw: A sharp, bypass pruning saw (8–10 inches) for cutting thicker branches (over 1.5 inches in diameter). Look for a comfortable grip and durable metal blades.
- ● Pruning shears: Bypass pruning shears (4–7 inches) for smaller branches (under 1.5 inches). Opt for ergonomic handles and replaceable blades.
- ● Loppers: A pair of bypass loppers (18–24 inches) for medium-sized branches (1.5–4 inches). Choose ones with a ratcheting mechanism for extra leverage.
- ● Gloves: Heavy-duty, cut-resistant gloves (e.g., leather or synthetic mesh) to protect your hands from thorns and sharp tools.
- ● Safety glasses: A pair of impact-resistant glasses to shield your eyes from debris and sawdust.
- ● Disinfectant: A small bottle of rubbing alcohol (70% or higher) or a commercial pruning sealant to sterilize tools between cuts (prevents disease spread).
- ○ Ladder (optional): A sturdy, extension ladder (if your tree is over 6–8 feet tall). Use a non-slip ladder with a wide base for stability.
- ○ Rope or harness (optional): A tree climber’s harness or a strong rope (if you’re pruning high branches and lack a ladder). Always prioritize safety!
- ○ Marking twine or flags (optional): Colored twine or small flags to mark branches you plan to cut (helps visualize your pruning plan).
- ● Bucket or tarp: A large bucket or tarp to collect pruned branches for easy cleanup.
- ● Weather: Prune on a dry, calm day with temperatures above freezing (ideal: 40–60°F). Avoid pruning if rain or snow is forecasted within 24 hours.
- ● Tree health: Inspect the tree for signs of disease (e.g., cankers, fungal growth) or pests. Prune out infected branches last to avoid spreading pathogens.
- ● Tool sharpness: Sharpen blades before starting—dull tools crush branches, causing damage. A file or sharpening stone works well.
- ● First aid kit: Keep a basic kit handy for minor cuts or scrapes (e.g., antiseptic wipes, bandages).
Step-by-Step guide to pruning an apple tree in winter
Winter’s the perfect time to shape your apple tree—dormant branches make it easier to see the structure and plan cuts.
🌿 Step 1: Assess the Tree’s Structure and Identify Branches to Remove
Start by examining the tree’s overall shape. Look for branches that cross or rub against each other—they’ll create wounds where disease can enter. I always scan for dead, diseased, or broken branches first; these are obvious candidates for removal. Use your hand to test branch strength—if it snaps easily, it’s likely dead or weak.
Next, identify "water sprouts"—those fast-growing, vertical shoots that pop up everywhere. These steal energy from fruit production, so they’re prime for cutting. Mark these branches with a piece of twine or flagging tape so you don’t miss them later. The goal here is to open the center of the tree to sunlight and air circulation, which prevents fungal issues and improves fruit quality.
✂️ Step 2: Gather Tools and Make Clean Cuts
You’ll need sharp pruning shears for small branches, loppers for medium-sized limbs, and a pruning saw for anything thicker than your wrist. I always sterilize my tools with rubbing alcohol before starting—this prevents spreading disease from one cut to the next. Make cuts just outside the branch collar (that swollen area where the branch meets the trunk) at a 45-degree angle.
Never leave stubs—these invite rot and weak growth. For larger branches, use the "three-cut method" to avoid tearing the bark: make the first cut about 12-18 inches out from the trunk, then a second cut just outside the branch collar, and finally remove the remaining wood. This protects the tree’s bark from splitting. Always cut in one smooth motion—hesitation leads to jagged edges that heal poorly.
☀️ Step 3: Shape the Tree for Optimal Fruit Production
Now focus on the tree’s framework. Aim for an open-center shape or modified central leader, depending on your tree’s age and type. Remove branches that grow inward to create a vase-like structure—this lets sunlight reach the center where most fruit forms. For young trees, prioritize removing competing leaders (vertical branches growing from the same spot) to establish one strong central leader.
Thin out branches so light can penetrate the canopy. A good rule of thumb is to leave 6-8 inches of space between branches. You’ll see the difference immediately: open centers produce more fruit and fewer diseases. Avoid "topping" the tree (cutting the top flat)—this encourages weak, water-sprout growth. Instead, make cuts just above outward-facing buds to encourage new growth in the right direction.
⏰ Step 4: Clean Up and Apply Wound Treatment (If Needed)
After pruning, rake up and dispose of all debris—this removes hiding spots for pests and pathogens. For larger cuts, apply a thin layer of pruning sealant (like Tanglefoot Tree Wound Pruning Seal) to protect against disease, but skip it on small cuts—they heal faster without it. I like to do a final walk-around with my hands, feeling for any rough edges or missed branches.
Water the tree deeply if winter’s been dry, but avoid overwatering—apple trees store enough moisture in their roots to survive dormant season. Now’s also a great time to add a 2-3 inch layer of mulch around the base (but keep it 6 inches away from the trunk) to retain moisture and regulate soil temperature. Your tree will thank you come spring with strong, healthy growth and a bounty of fruit.
Tips & tricks for perfect winter apple tree pruning
Winter pruning transforms your apple tree—here’s how to avoid common mistakes and elevate your results.
Timing is Everything: Prune on a dry, sunny winter day between late winter and early spring, just before buds begin to swell. This timing ensures you’re not disturbing active growth while still having plenty of time for cuts to heal before spring. I’ve learned this the hard way—pruning too early in winter can stress the tree, while waiting too long means you’ll be cutting into fresh growth.
Branch Collar Precision: When making cuts in Step 2, focus on the branch collar—the swollen area where the branch meets the trunk. Cutting just outside this collar (never flush with it) promotes faster healing and prevents disease entry. I’ve seen many trees suffer from improper cuts that leave unsightly stubs—always visualize the collar before making your cut to avoid this common mistake.
Visualizing the Canopy: Step 3’s open-center shaping is all about sunlight penetration. Imagine the tree as an open vase—you want light to reach the center where most fruit develops. Walk around the tree at eye level to visualize how branches block sunlight. I use a small mirror on a stick to check hard-to-see areas—this simple tool has saved me from missing branches that needed removal.
Post-Pruning Care: After cleaning up in Step 4, don’t forget to dispose of pruned branches properly. Burning them is ideal, but if that’s not possible, bag them for trash pickup to prevent pests from using them as winter shelter. I’ve seen trees become reinfested with pests from improperly discarded branches—always practice good sanitation after pruning.
Pro Tips for Prune An Apple Tree Diagram In Winter
- Winter pruning transforms your apple tree—here’s how to avoid common mistakes and elevate your results.
- Timing is Everything: Prune on a dry, sunny winter day between late winter and early spring, just before buds begin t...
- Branch Collar Precision: When making cuts in Step 2, focus on the branch collar—the swollen area where the branch mee...
Frequently asked questions
Got questions about winter pruning? You’re not alone! Here are answers to the most common concerns to help you prune like a pro—without the guesswork.
Can I prune my apple tree in winter if it’s still dormant?
Winter (late dormancy, just before buds swell) is the ideal time to prune apple trees. Cold weather reduces stress, and the tree’s energy focuses on healing wounds. Just avoid pruning during extreme freezes—wait until temps stabilize above 20°F (-7°C).
What if I missed the winter window? Can I prune later?
Yes, but with caution. You can prune in early spring (before buds bloom) or summer (after harvest), but avoid heavy pruning in late spring/early summer—it stresses the tree and attracts pests. Summer pruning should be minimal (just shaping or removing water sprouts).
How do I know if I’m cutting too much? What’s the “rule of thumb”?
Never remove more than 25% of the tree’s canopy in one year—even for mature trees. For young trees, stick to 15-20%. Look for dead, diseased, or crossing branches first, then thin out to improve airflow. Check our diagram for visual guidance!
Will pruning attract pests or diseases?
Pruning correctly minimizes risks! Use sterilized tools (rubbing alcohol or bleach solution), make clean cuts, and avoid pruning when the tree is wet (fungus loves moisture). Seal larger wounds (>2 inches) with pruning sealant if your climate is humid. Healthy trees handle pruning better—focus on removing weak wood first.
How will pruning affect next year’s apple harvest?
Done right, pruning boosts fruit quality! Opening the canopy improves sunlight/pollination, reducing overcrowded fruit (small, poor-quality apples). Heavy pruning may delay harvest by 1-2 years as the tree regenerates, but moderate, yearly pruning keeps production steady. Younger trees (under 5 years) need more aggressive shaping for future yields.
Still unsure? Drop your specific concerns in the comments—we’re happy to help!
Wrapping up and next steps
Pruning your apple tree in winter is a game-changer—it boosts health, encourages better fruit production, and keeps your tree looking its best! 🌳 By following the steps in our guide, you’ll shape your tree like a pro while giving it a fresh start for spring.
Now that you’re armed with the right tools and techniques, there’s no better time to roll up your sleeves and get pruning!
Ready to see your apple tree thrive? Start by marking your calendar for the next dormant season and take action—your future harvest (and happy tree!) will thank you! 🍏✨