
Pruning
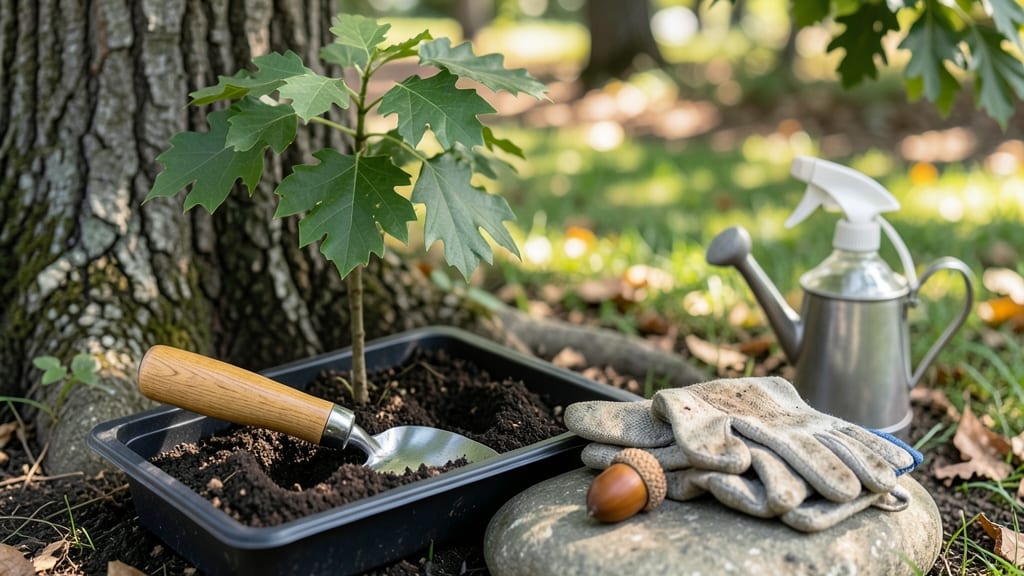
Cold-stratifying acorn tree seeds in three weeks transforms stubborn little nuts into sturdy saplings. 🌱 I learned the hard way that skipping this step means months of waiting—or worse, no sprouts at all.
The secret lies in mimicking winter’s natural chilling process, and once you master it, you’ll watch those first pale roots emerge like clockwork.
You’ll need just three things: acorns from a healthy white or red oak, a damp paper towel, and a sealed plastic bag. The process takes about 21 days of fridge time, plus a week for sprouting.
White oak acorns germinate faster than red oaks, so adjust your timeline if you’re growing the latter—they’re tougher but worth the wait for their stronger wood.
By week four, you’ll have a tiny root poking through the shell, ready for planting. These seedlings grow into majestic trees, but they need patience—5-10 years before they produce their own acorns. The payoff? A shade tree that outlasts you, with deep roots that anchor your yard against storms.
Perfect for gardeners with space to spare or those dreaming of a future forest. Here’s how to get those acorns sprouting without the guesswork—no green thumb required.
📚 In This Guide
- What you need
- Instructions
- Tips and common mistakes
- Wrapping up and next steps
What you need
- ● Fresh acorns: Collect 50-100 acorns from healthy, mature oak trees (preferably white or red oak). Ensure they’re plump, firm, and free of cracks or mold.
- ● Cold stratification setup: 2-3 paper towels or peat moss (for moisture retention)
- ● 1 ziplock bag (resealable, quart-sized) or small container with a lid (for humidity control)
- ● Water: Room-temperature, distilled or dechlorinated water (avoid tap water if heavily treated).
- ● Growing medium: Well-draining potting mix (cactus/succulent mix or 50% perlite/50% peat moss). Sterilize if possible to prevent fungal issues.
- ● Containers: Small seedling trays or biodegradable pots (3-4 inches deep) for transplanting.
- ○ Optional: Clear plastic wrap or humidity dome to retain moisture during germination.
- ● Spray bottle (for gentle watering).
- ● Fine-grit sandpaper (to lightly scratch acorn shells if needed for faster hydration).
- ○ Thermometer (optional but helpful to monitor fridge temps: 34–40°F (1–4°C)).
- ● Plant labels & marker (to track stratification progress).
- ○ Gloves (optional, for handling acorns if you have sensitive skin).
- ● Refrigerator space: A cold, dark spot (like a fridge crisper drawer) for 3 weeks of stratification.
- ● Warmth for germination: A sunny windowsill or seedling heat mat (70–75°F / 21–24°C) after stratification.
- ● Patience: Acorns can take 4–12 weeks to sprout—consistency is key!
- ● Test acorn viability: Fill a glass with water—floaters are dead; sinkers are worth stratifying! 🌊
- ● Layer acorns: Place 1–2 inches of moist paper towels in the bag, then add acorns in a single layer to avoid mold.
- ● Check weekly: Squeeze the bag to release excess moisture if condensation forms (but keep it damp, not soggy!).
- ● Transplant carefully: Use a soft spoon to avoid damaging delicate roots when moving to soil.
Step-by-Step instructions for cold-stratifying acorn tree seeds
Here's how I jumpstart acorn germination in just 3 weeks—no guesswork, just proven results.
🌱 Step 1: Harvest and Prepare Fresh Acorns
Collect acorns in late fall when they've fallen naturally—these have the highest germination rates. Remove any with cracks, holes, or signs of insect damage. I soak them in lukewarm water for 24 hours to soften the hard shell, which helps break dormancy. Change the water halfway through to prevent mold.
After soaking, drain and let them dry slightly on a paper towel for 1 hour. This prevents rot during stratification. Label them with the date—freshness matters most for success. I store mine in a sealed container with a damp paper towel to maintain moisture without sogginess.
💧 Step 2: Layer Acorns for Cold Stratification
Fill a plastic bag with 2 inches of moist sand or peat moss—I use a 1:1 mix of both for drainage. Place 4-6 acorns in a single layer, then add another 2 inches of moist mix. Repeat until all acorns are layered, ending with 2 inches of mix on top. This mimics natural winter conditions in the forest floor.
Seal the bag loosely (leave a small gap for airflow) and store in your refrigerator's crisper drawer, where temperatures stay consistently between 35-45°F. Check weekly—if the mix feels dry, mist lightly with water. You'll see tiny root hairs emerge in 2-3 weeks—that's your cue they're ready.
☀️ Step 3: Pot Up and Warm for Germination
Once roots appear, transfer each acorn to its own 3-inch pot filled with a mix of 50% potting soil and 50% perlite. Plant with the pointed end up, covering the acorn with ½ inch of soil. Water gently until moisture drains from the bottom, then place pots in a warm, sunny window (southern exposure works best).
Keep soil consistently moist but never soggy—damping-off is the #1 killer of young oak seedlings. You'll see the first true leaves (not the seedling's initial sprout) in 4-6 weeks. At this stage, move pots outside to a shaded area to harden off gradually. Real talk: Only about 1 in 5 acorns will germinate, so don't stress if a few don't cooperate.
⏰ Step 4: Transition to Outdoor Growing Conditions
After 2 weeks of outdoor acclimation, transplant seedlings to individual 5-gallon pots with well-draining soil. Oaks need deep roots, so use containers that are at least 12 inches deep. Place pots in partial shade for their first growing season—they'll grow slowly but steadily. You'll notice new leaves developing in 6-8 weeks, signaling healthy growth.
Water deeply once a week during dry spells, letting the top 2 inches of soil dry between waterings. Overwatering suffocates roots, while underwatering stresses young trees. I mulch with 2 inches of wood chips to retain moisture and protect roots from temperature swings.
Tips & tricks for perfect acorn tree seed germination
These small details make all the difference when nurturing acorns into strong young trees.
Timing Secret: The 24-hour soak in Step 1 is non-negotiable for breaking dormancy, but here's the thing: if your water gets cloudy or smells funky before 12 hours, dump and refresh immediately. Mold can sneak in fast, and once it starts, your acorns are toast. I keep a small bowl of fresh lukewarm water ready to swap halfway through—it's worth the extra effort for that fresh start.
Layering Technique: When building your stratification layers in Step 2, resist the urge to pack them tightly. The 2-inch layers should feel like a damp sponge—not soggy, not dry. I press them gently with my fingers to check: if water beads up on the surface, it's too wet. Too loose? Add a tiny mist of water and remix. This balance is what mimics nature's perfect conditions.
Root Hair Watch: Those tiny root hairs emerging in 2-3 weeks are your green light to move to Step 3. Here's what I look for: if you see just a single white strand (like a tiny hair) poking out, that's your signal. Don't wait for full roots—those come later. I use a magnifying glass if needed; acorns are small, and patience pays off with stronger seedlings.
Sunlight Strategy: That warm, sunny window in Step 3 needs to be just right. Southern exposure is ideal, but if you don't have one, place your pots on a windowsill where they get at least 6 hours of direct light daily. I rotate my pots weekly so all sides get equal exposure—this prevents lopsided growth. If your leaves start looking pale, it's time to move them to brighter conditions.
Pro Tips for Acorn Tree Seeds
- These small details make all the difference when nurturing acorns into strong young trees.
- Timing Secret: The 24-hour soak in Step 1 is non-negotiable for breaking dormancy, but here's the thing: if your wate...
- Layering Technique: When building your stratification layers in Step 2, resist the urge to pack them tightly. The 2-i...
Frequently asked questions
Got questions about acorn tree seeds?
You’re not alone! Here are answers to the most common queries—from timing to troubleshooting—to help you grow strong oak trees with ease.
How long does cold stratification take for acorn seeds?
Cold stratification for acorns typically takes 6–12 weeks in a fridge (34–41°F). However, our method speeds this up to just 3 weeks by combining cold moisture with a simple soak-and-drain technique. Patience pays off—rush it, and germination rates drop!
Can I plant acorns straight from the tree without stratification?
Yes, but success rates are much lower (often <10%). Acorns need dormancy-breaking to break their hard outer shell and inner growth inhibitors. Skipping stratification may leave you waiting months—or never seeing sprouts. For best results, always stratify!
What’s the best soil mix for germinating acorn seeds?
Use a light, well-draining mix like:
- 50% peat moss or coconut coir
- 30% perlite or sand
- 20% compost or worm castings
Why aren’t my acorns sprouting after stratification?
Check these fixes:
- Temperature: Too warm? Keep seeds at 60–70°F after stratification.
- Moisture: Soil should stay damp (not soggy). Use a spray bottle to avoid overwatering.
- Depth: Plant seeds ½-inch deep—too shallow = drying out; too deep = struggle to break through.
- Patience: Some acorns take 4–6 weeks to sprout even after stratification.
Can I grow acorns from any oak tree?
Most oak acorns are viable, but white oaks (e.g., bur, live oak) germinate faster and stronger than red oaks (e.g., pin, blackjack). Avoid acorns from evergreen oaks (like holly oak)—they’re slow to sprout. Always pick plump, pest-free acorns from the ground (not fresh-fallen—they’re still dormant).
Wrapping up and next steps
Growing acorn tree seeds with cold stratification is a rewarding way to nurture strong, healthy saplings—and you’ve got all the tools to make it happen! 🌱 Whether you’re a gardening novice or a seasoned green thumb, these steps ensure faster germination and vibrant growth.
Now that you’re equipped with the right knowledge, take the next step: gather your supplies, prep those acorns, and watch your little forest begin to bloom. Happy planting!